

Shortly in Finnish / Lyhyesti Suomeksi: Blogini kansainvälisten vieraiden useiden pyyntöjen vuoksi kirjoitin suositun macrame-verho -postaukseni myös englanninkielisenä versiona, ja muistuipa mieleeni viimein myös julkaista se.
In the autumn of 2017 I made a post about these macrame curtains. It became really popular.
The Finnish version has been translated to other languages with Google Translate a lot. So I wanted to help international readers by translating the post in English. I’ve also gotten multiple requests to do an English version, so here you go! Finally. I hope this is easier for you to follow than the Finnish version via Google Translate…
So this Finnish version has been referred in this post.
This post that you are reading has the instructions with key features to create a similar kind of macrame project as I did. So I’m sorry, but this is not yet a full step-by-step or should I say knot-by-knot -tutorial. That would have required the whole work to be done all over again and unfortunately I’m not ready for that – at least not right now. But I give you the main instructions which can lead you to the right direction when you create a macrame work like this by yourself.
Macrame means interior decorations and art created by tying threads together in various ways.
There are countless instructions of different macrame methods. For this project I used the same method as I used on a smaller macrame work which I raffled for my blogs readers in Christmas 2016. It was practice for this project even though it was bigger job than I thought beforehand. I recommend trying out a smaller macrame work at first, so you won’t bite off more than you can chew. 🙂
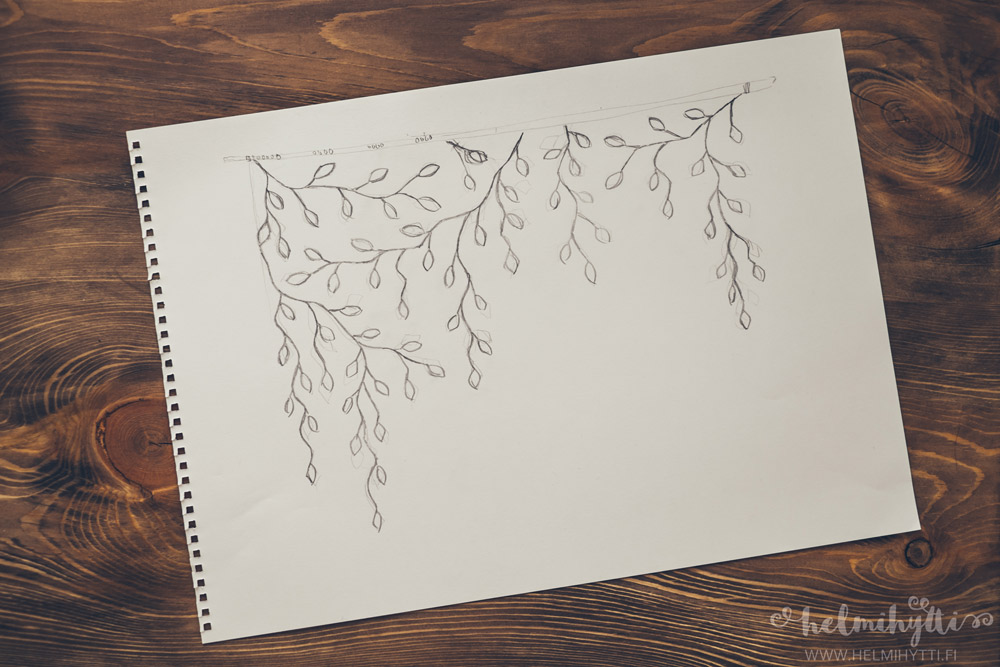
My hand drawn draft of the vine pattern.

To create this kind of macrame you need:
- A stick or something similar which you can create the macrame on.
- Thread which is thick, tight and flexible and can be used to tie macrame. (I used this kind of thread.)
- Pearls, tape or other decorations (if you want). I used copper tape at the end of the threads.
- Scissors and tape measure
The amount of thread you need depends on the size of the project. This thread is quite thick (diameter 4-5mm) and easy to handle. It was similar to a hoodies drawstring and it didn’t go on a knot by itself.
Macrame can be done with other kind of threads as well.
Instructions – how to do macrame my way:
- I started by sawing a fitting piece of a stick. Then I rubbed it with sandpaper and applied stain on it so it becomes a bit darker.
- Working on the project is easier if it’s hanging from somewhere. I put my project on a coat hanger but a door would had had the same result. Smaller projects (training projects for example) can be stuck on a table with tape.
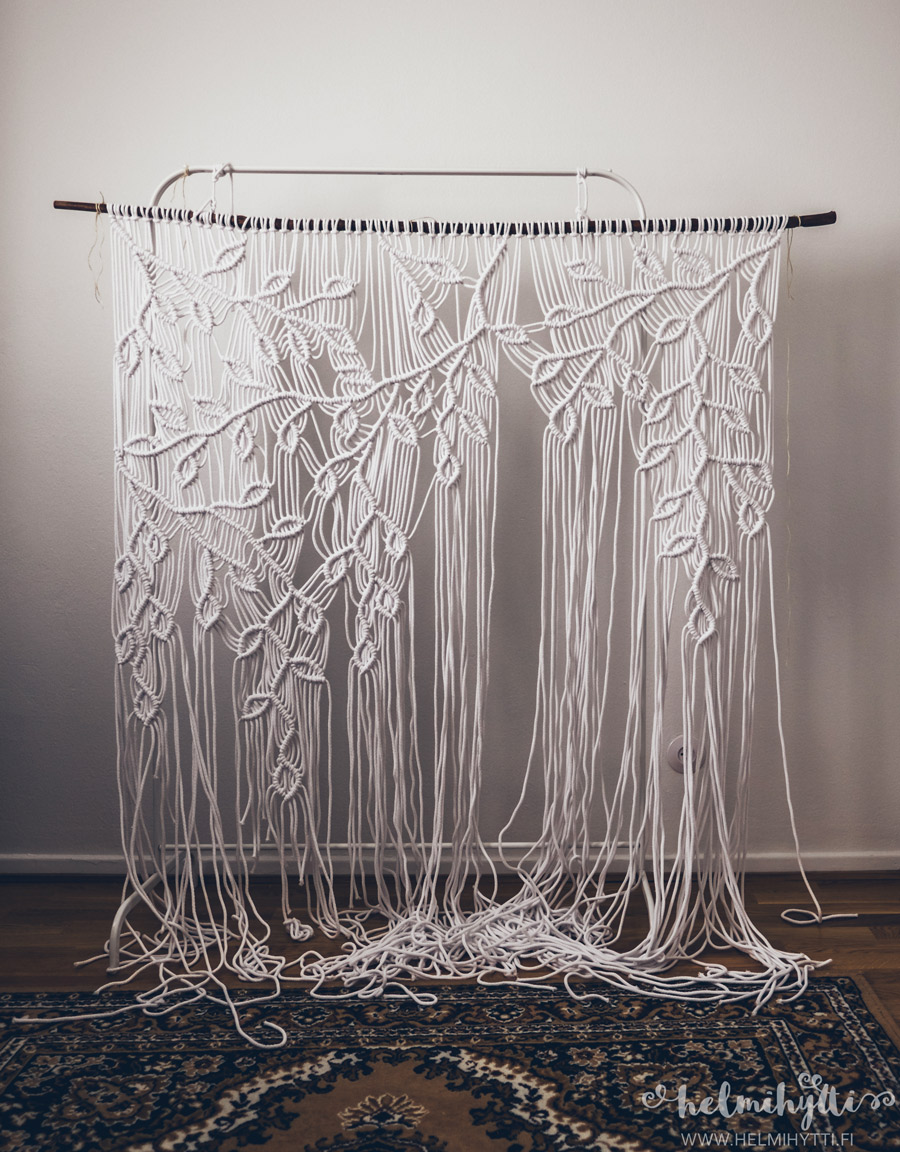
- I cut the thread in 64 pieces, 5,5 meters each. Then I attached the threads to the stick with slipknots in a way that there were now 128 threads hanging. The finished work as a whole is 135 cm wide and 120 cm tall. (It is asymmetrical so it has some variety.)Note! You should bundle up the strings on pieces of carton so they are easier to tie.
- And then you just tie! Read further to know more.


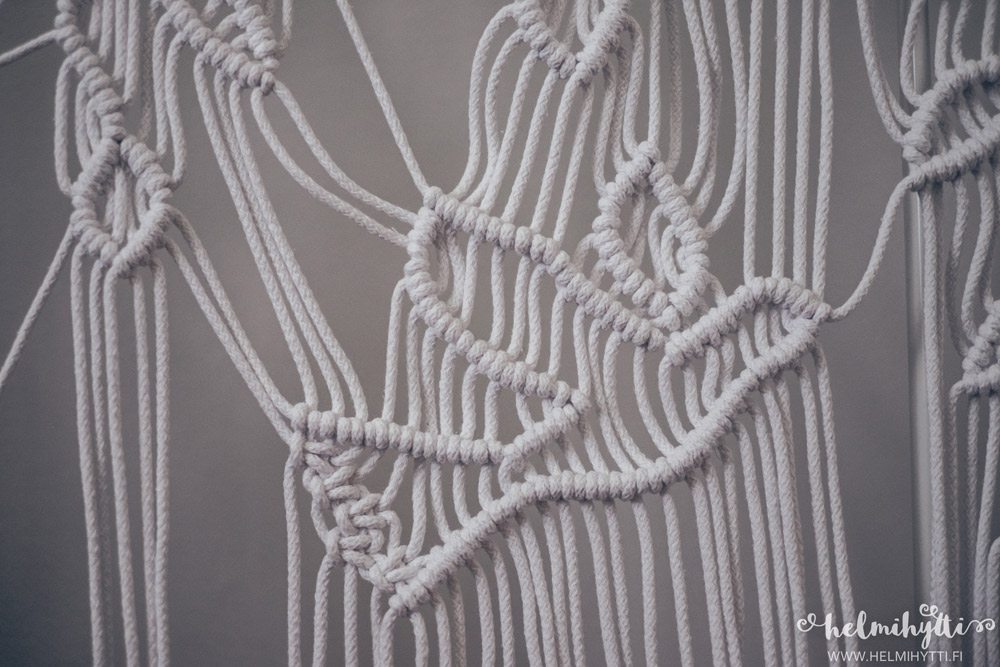
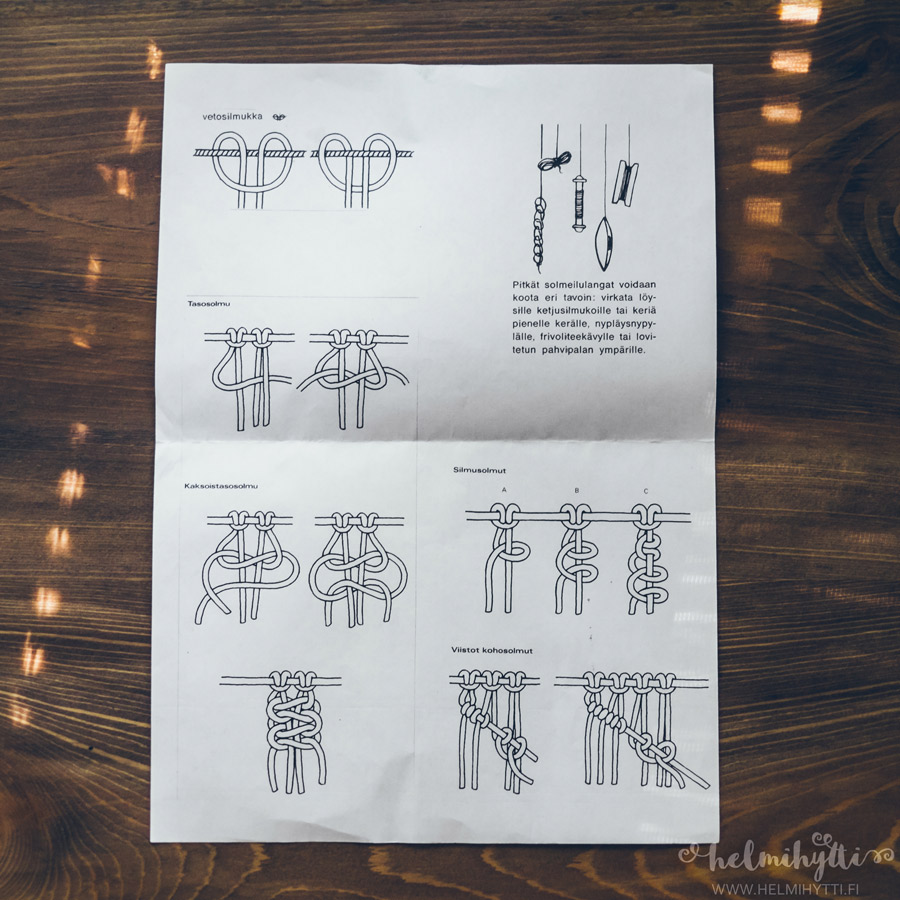
In macrame projects there are innumerable ways of going forward with different ways of tying threads and attaching pearls and other decorations. Just by doing the most basic knots, you can go far!
This project has been done by doing the same knot, a double half hitch knot, over and over again and advancing downwards, taking turns from left and right.
A double half hitch knot photo instructions you can find HERE!
I also did another macrame work – macrame scarf, click here to see it – with using this same technique. Only the thread was much thicker so it was much quicker to finish! Text is in Finnish but there are clear photo instructions how to do the knots. This is also easier work to start with if you want to practice first before a big project like these curtains.
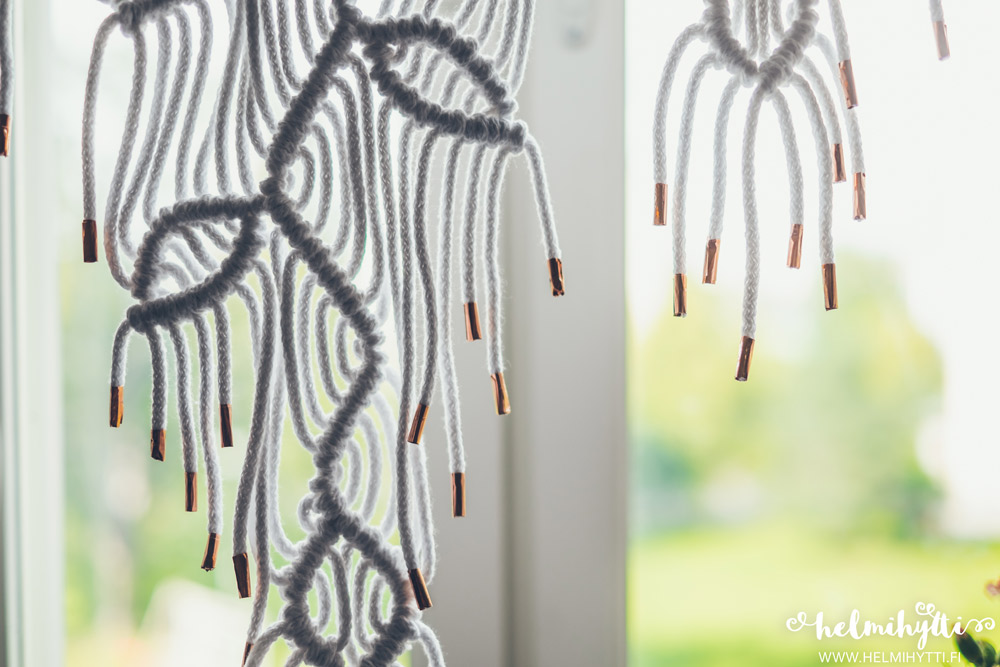
You can also add pearls and other decorations to the curtains if you want to.
First I thought of putting red wood pearls at the end of the strings as if they would be berries hanging from the vines. But in the end I decided to go with copper tape which in my opinion was a good choice. Because of them the project isn’t too white and the tape stops the end of the strings from turning to fringe.


This macrame curtain work wasn’t the fastest of my projects but it seriously didn’t take an eternity either. You just need a good day, and then you just go with the flow and you’ll be finished in no time.
This project took me few months to create but mainly just because I couldn’t find time to work on it (and that’s the main reason why I don’t make more of these). And you really shouldn’t work on this kind of project when you are not in the mood for it.
Doing macrame on a good day is like handcraft therapy at its finest.
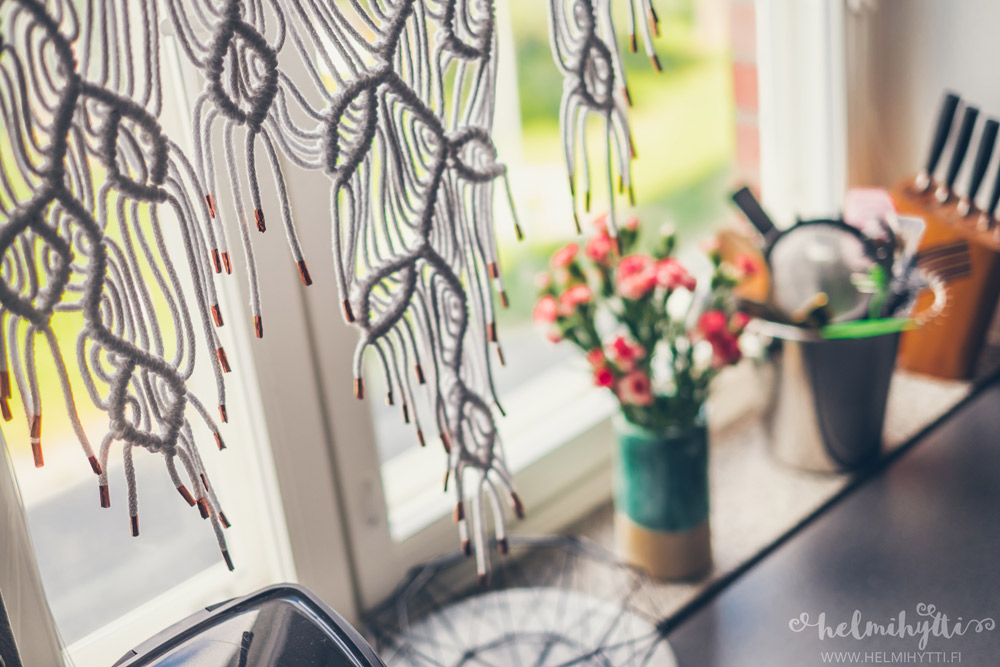
I cut the leftover threads away after I hung the curtains up, so the length of the threads would be as good as possible.
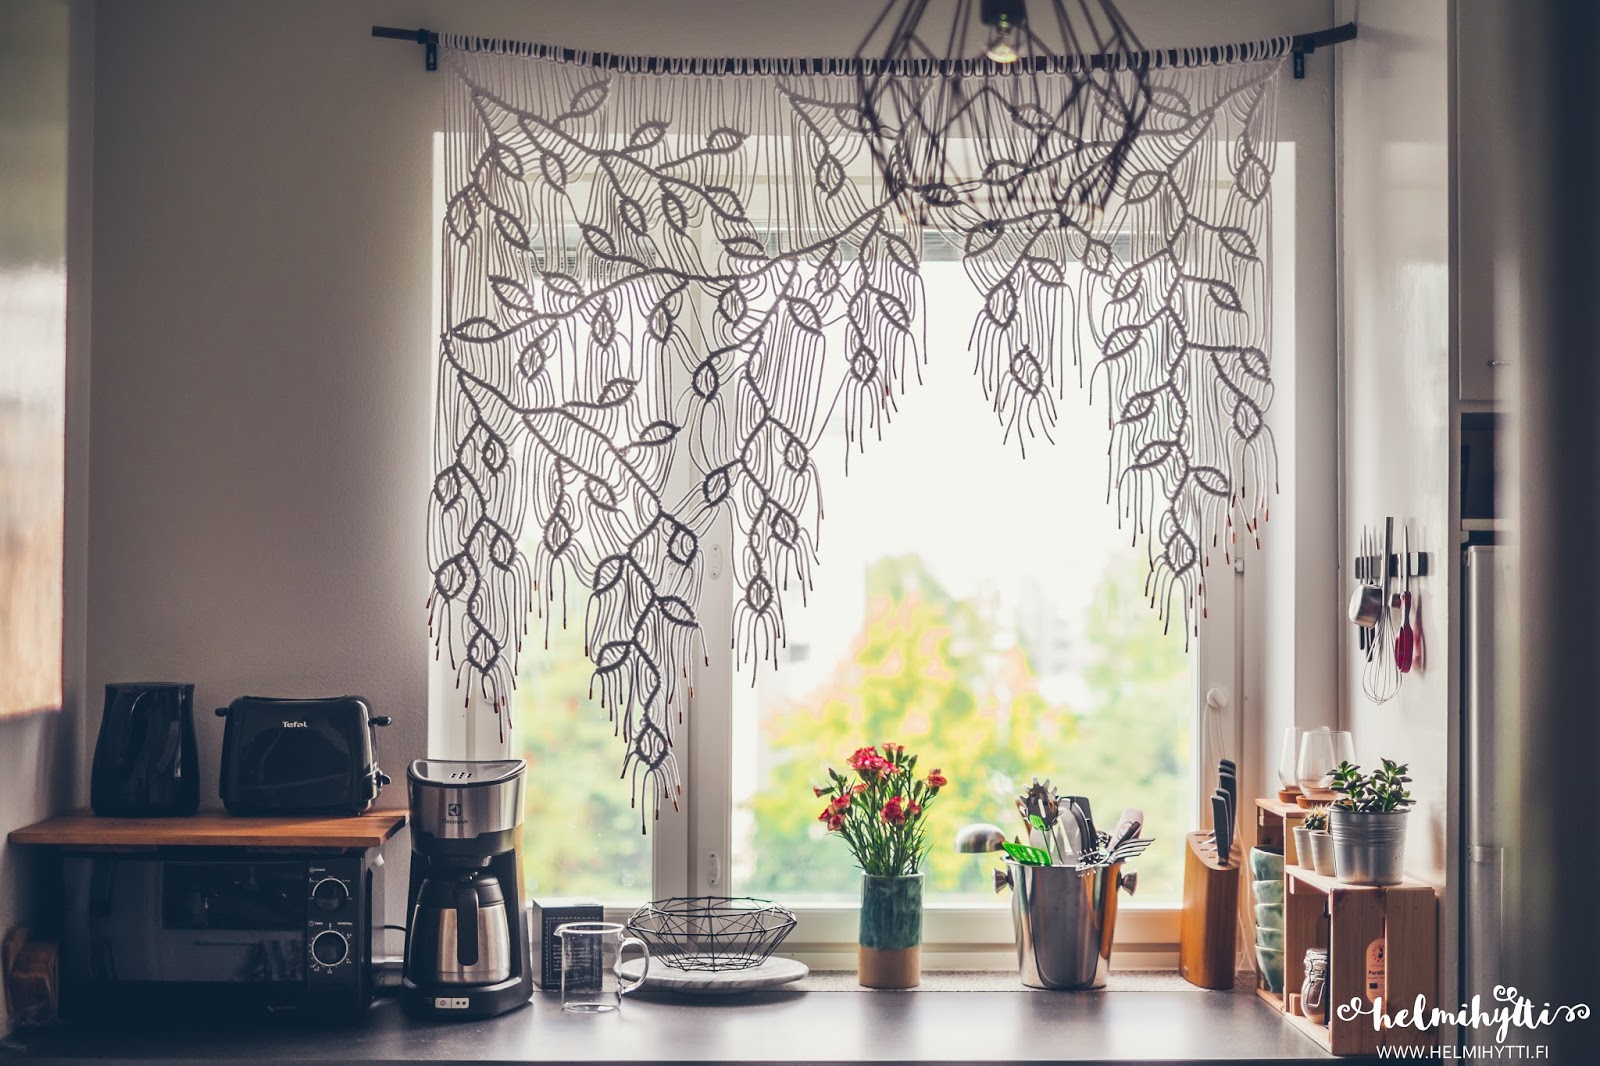
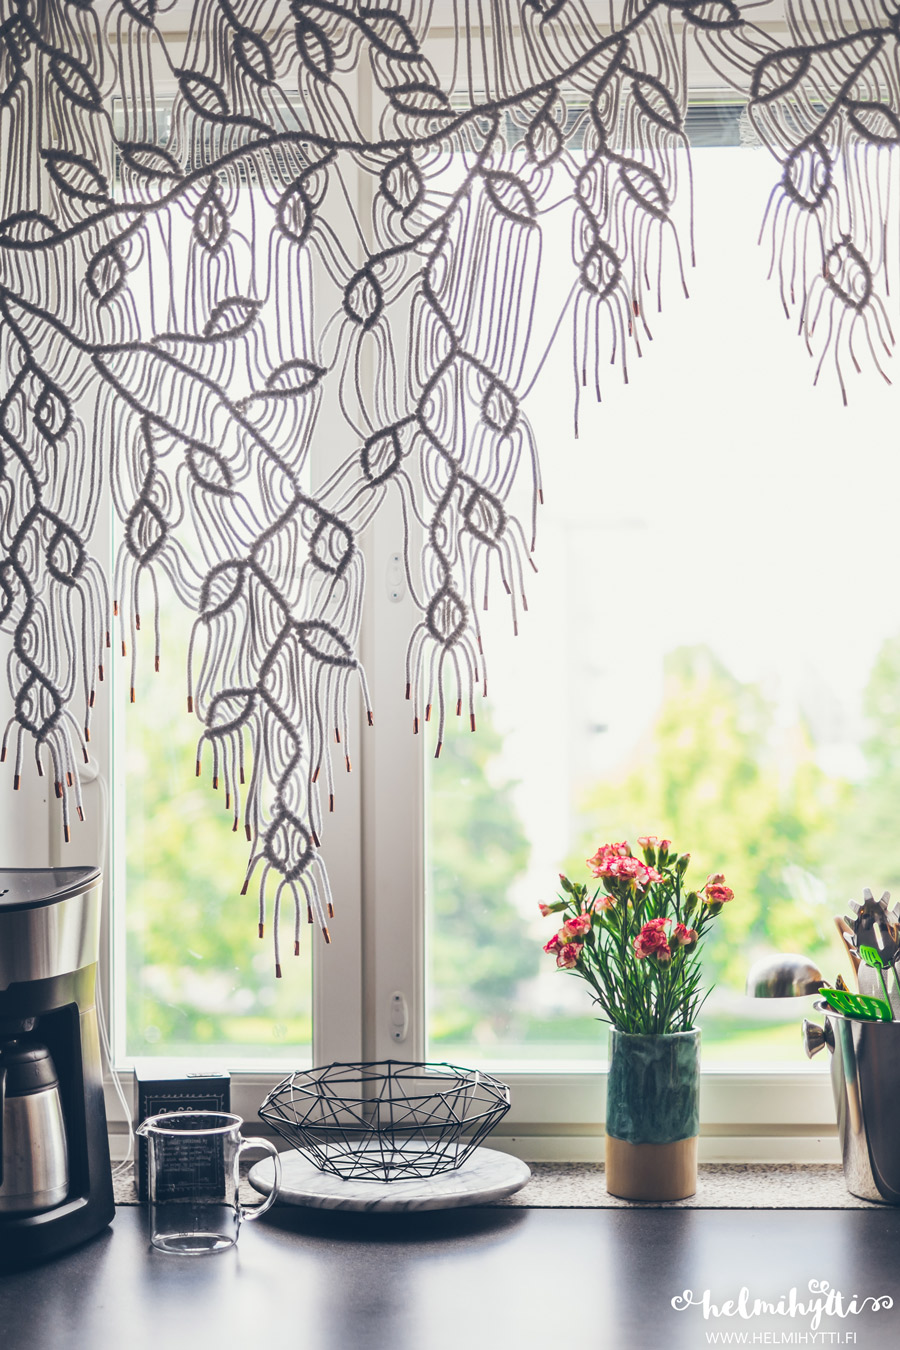
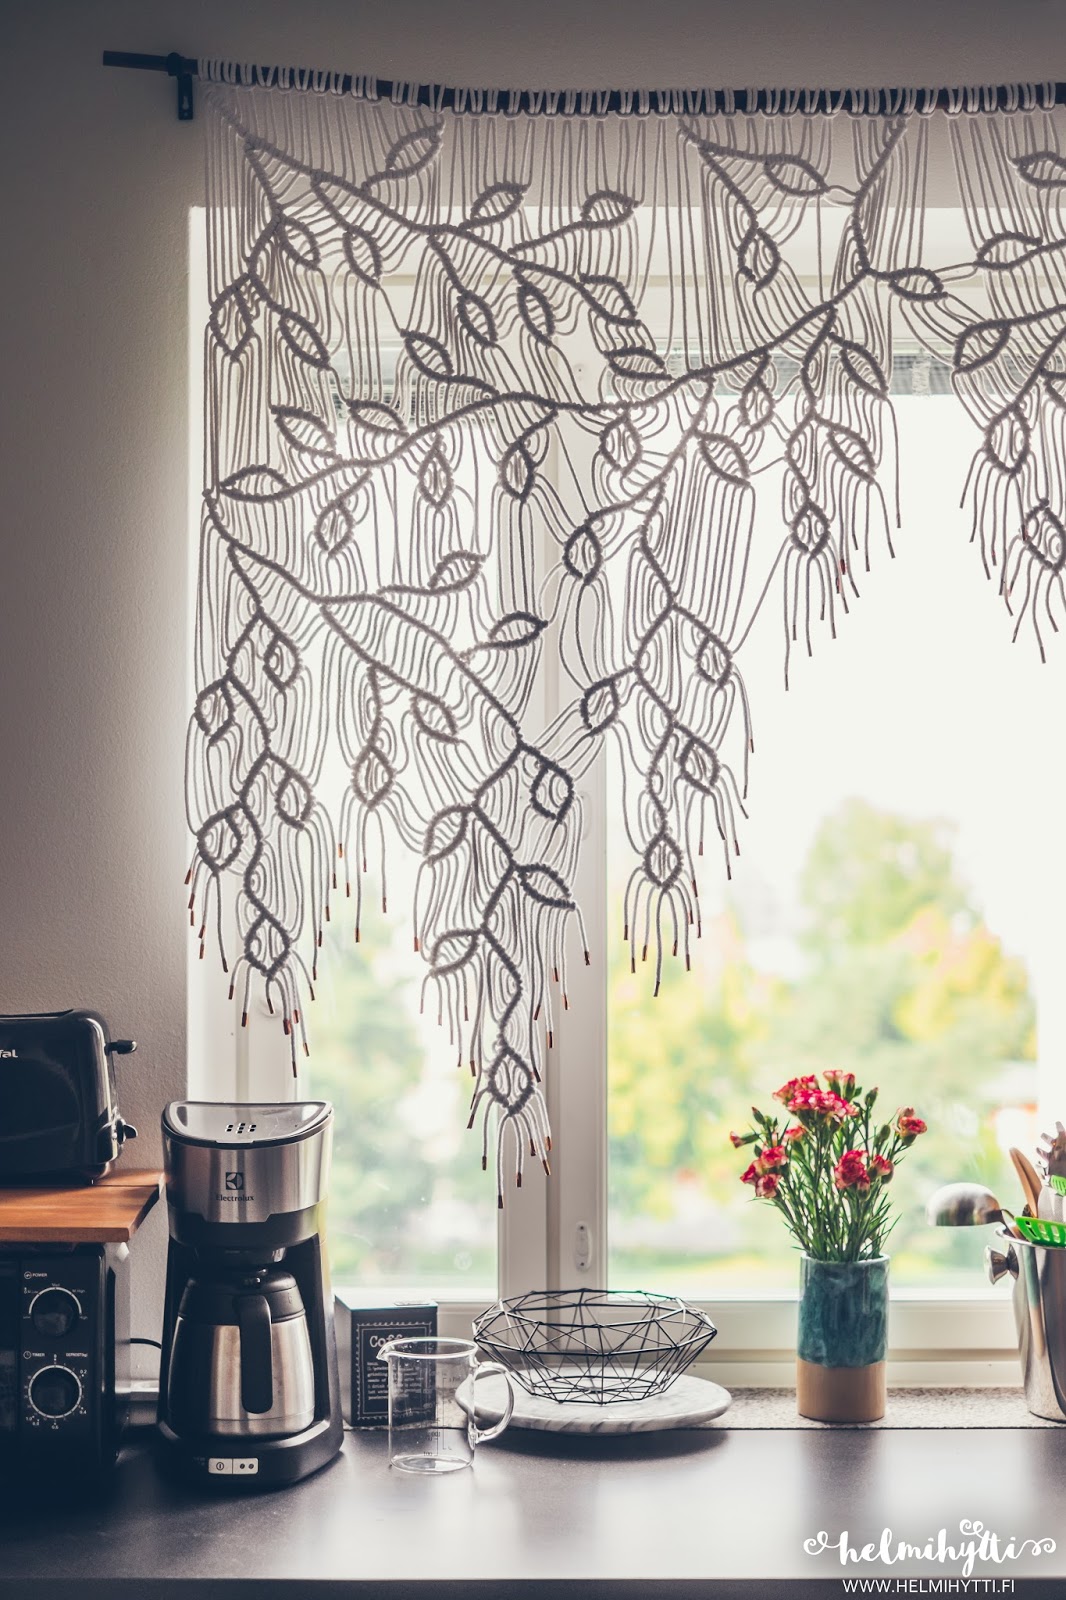
It was fun to notice how differently macrame work behaves on a window instead of a wall. In front of the window the light makes the strings look darker which highlights the design. But when there is only indoor light the curtains look white.
Kitchen is the brightest room of our apartment. Because of that I didn’t want curtains that cover the window too much. But there had to be something. Macrame curtains seemed like the best opinion. Doesn’t cover too much and looks interesting.
May not be the best option for every home but these are perfect for us!


How do you like this outcome or the macrame curtains overall?
If you found this english version helpful or inspiring (or something else), please let me know! I appreciate your feedback. ♥ If you have hard time understanding some part of this post, please comment so I try my best to explain.
Thank you for reading, I hope you enjoyed this post! Also, if you end up doing this kind of macrame work yourself, I’m interested to hear (and see) how it turned up! I’ve seen some beautiful versions of my design in Instagram, and it’s wonderful to see how this has inspired so many people. 🙂
ps. Please do not steal my photos – read my guidelines before sharing them somewhere. I know they’re all over the internet, but it would be nice to know where, even a little. Thank you for understanding!
ps.2. If you want to start practicing macrame with some kind of smaller model & you have some sense of humor, you’re welcome to check my post ”DIY – Munamacrame”. I’m not sure how to translate it correctly… Literally it would turn into an ”egg macrame”, but what it really means is kinda like a ”d*ck macrame”. You know, hanging your macrame work from a ”stick”… The idea escalated from a typo in one of my macrame blog post, which one of my readers pointed out. And this was the result. 😀
ps.3. These curtains are now over 3 years old. Still looking quite good here in our kitchen, I must say!
Yksi vastaus
paljon kiitoksia for the translation! truly beautiful and inspiring piece you made. you wrote that it has been in use for 3 years and is still wonderful; can you tell me how you clean it?